Getting started with VPS
Getting started with VPS doesn’t have to be complicated. This guide highlights the essential steps to help you quickly access, configure, and manage your server so you can make the most of your hosting environment.
This walkthrough will guide you through the key steps to get started after acquiring a new VPS hosting plan.
Accessing your VPS
If you’ve worked with reseller hosting before, you may already know about private name servers. For VPS hosting, this is the method used to configure name servers for your package. Until those are set up, you’ll need to log in using your IP address, which can be found in your Welcome email or Bluehost Portal.
To log in to your VPS accounts, check the guide below:
First-time setup
There’s no complicated installation required. Our VPS platform runs on Kernel-based Virtual Machine (KVM), a modern open-source virtualization technology built into Linux.
These resources will help you understand the tools available and configure them for your needs:
Once your settings are in place, you can proceed to set up private name servers, enabling access via your domain name.
Troubleshooting a VPS
If your VPS container experiences performance issues, there are several troubleshooting steps you can take.
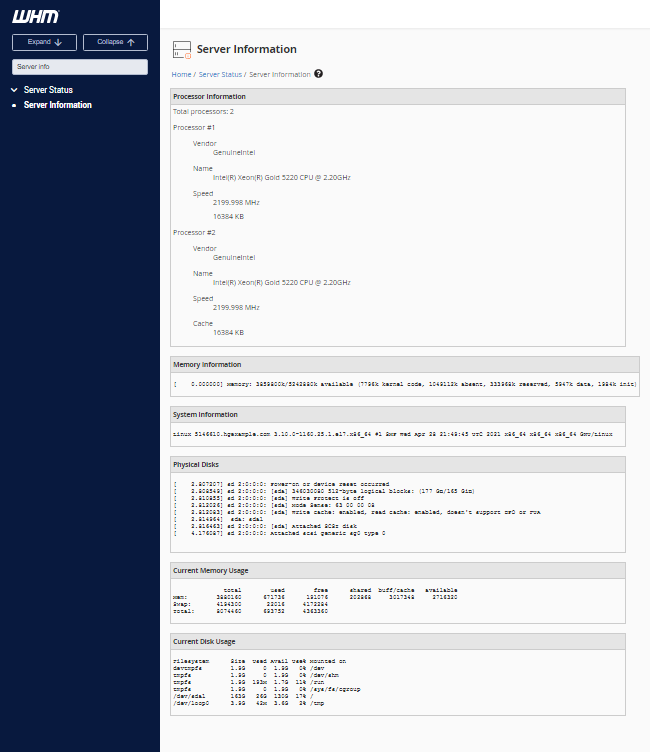
Check server resource usage
For KVM VPS, you can monitor resources in two ways:
- In WHM, use the Search bar to look for Server Information.
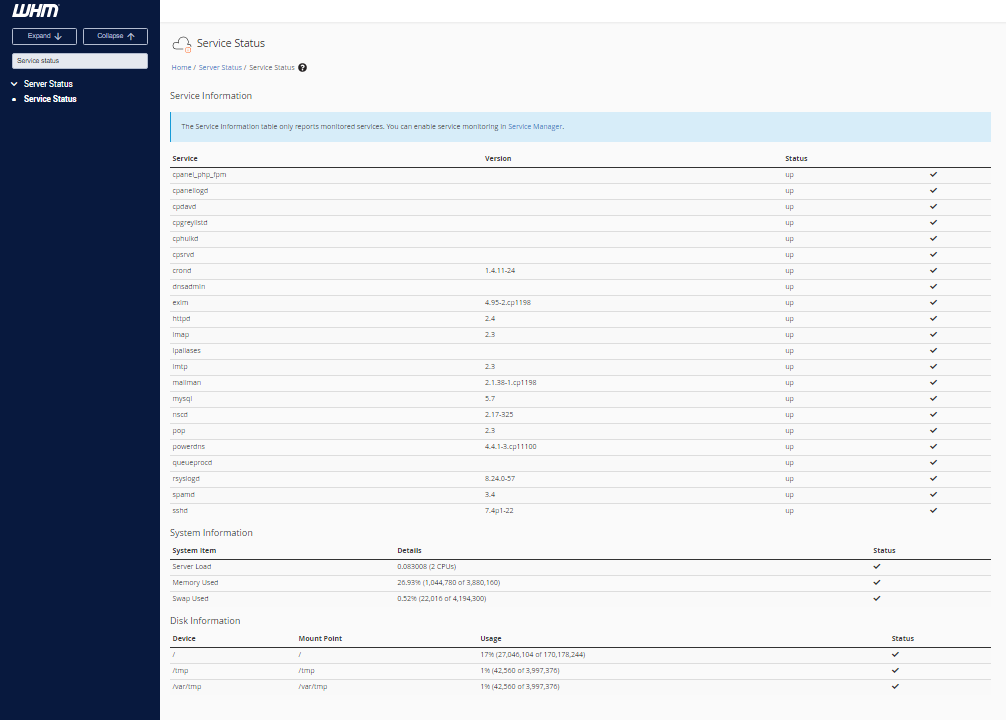
- In WHM, search for Service Status.
Rebooting a VPS container
Unlike shared hosting, VPS owners can reboot their server when necessary.
Two reboot methods are available:
Via the Web Host Manager (WHM)
- Search for System Reboot in the left panel.
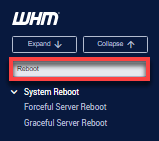
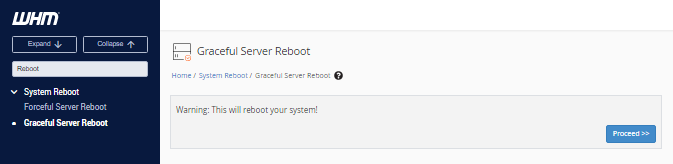
You’ll see two reboot options: Forceful and Graceful.
Forceful Server Reboot restarts the server immediately.
Graceful Server Reboot shuts down services first, allowing processes to finish before restarting.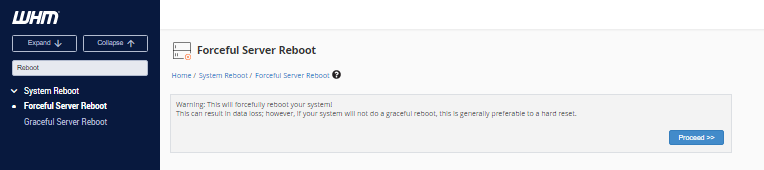
Via the Command Line
If you prefer SSH, you can reboot your VPS via terminal. For SSH setup, see this article: What is SSH Access and How to Enable It in Your Hosting Account.
To restart via SSH:
- Log in as root.
- Type the reboot command. Example output:
          root@server [~]# reboot

          root@server [~]#

          Broadcast message from root@server-host-name

          (/dev/pts/0) at 14:52 ...

          The system is going down for reboot NOW!

          Connection to ip.add.re.ss closed by remote host.

          Connection to ip.add.re.ss closed.
Private name servers
At this stage, you can configure your domain to point to your VPS. Private name servers let you connect your VPS with your domain name and reuse those name servers for other domains hosted on the same server.
Follow this guide for step-by-step instructions across popular registrars:
Once configured, you can manage your VPS just like any other hosting environment.
Bonuses
Your Bluehost VPS includes a variety of added benefits. See the article below for a full list of included services:
For more in-depth reading, practical advice, and useful references, check out the VPS hosting guide below:
Summary
Getting started with your VPS is straightforward once you know the steps. Begin by accessing your server through the IP address provided in your Welcome email, then configure WHM and cPanel for management. From there, you can set up private name servers to connect your domain, monitor resources, and troubleshoot when needed. With added features and resources available, your VPS offers flexibility and control for hosting projects of all sizes. Use the guides and references provided to continue learning and make the most of your VPS hosting experience.
If you need further assistance, feel free to contact us via Chat or Phone:
- Chat Support - While on our website, you should see a CHAT bubble in the bottom right-hand corner of the page. Click anywhere on the bubble to begin a chat session.
- Phone Support -
- US: 888-401-4678
- International: +1 801-765-9400
You may also refer to our Knowledge Base articles to help answer common questions and guide you through various setup, configuration, and troubleshooting steps.