Lazy Expunge – User Message Recovery Feature in Cloud Mail
Recover Deleted Emails with Lazy Expunge!
The Lazy Expunge feature in Cloud Mail empowers users to recover deleted messages or those marked as spam within a specific timeframe. Users can retrieve deleted messages within 14 days after deletion, after which they become permanently irrecoverable.
IMPORTANT:
- This feature is exclusive to customers with Professional Email and Professional Email Plus subscriptions.
- If you are using an email hosting package, the Lazy Expunge feature is not available, and items removed from the trash folder cannot be recovered.
- This article ONLY applies to those whose accounts have been migrated to the Account Manager experience. Please see the New vs Old View Side-by-Side Comparison article to learn more.
- To access the user guide in your web browser, click the
 icon and select the Help option. By default, it will direct you to the Help section relevant to your current category. Explore additional articles by navigating to the Table of Contents. To perform a search within the user guide, press CTRL+F on your keyboard simultaneously.
Recover User Messages
To recover your messages, please follow the steps below.
- Open your internet browser.
- In the address bar, enter https://webmail.oxcs.bluehost.com/.
- Log in to your email.
- Enter your email address.
- Input your password associated with the email address you want to log in to.
- Click the Sign in button.
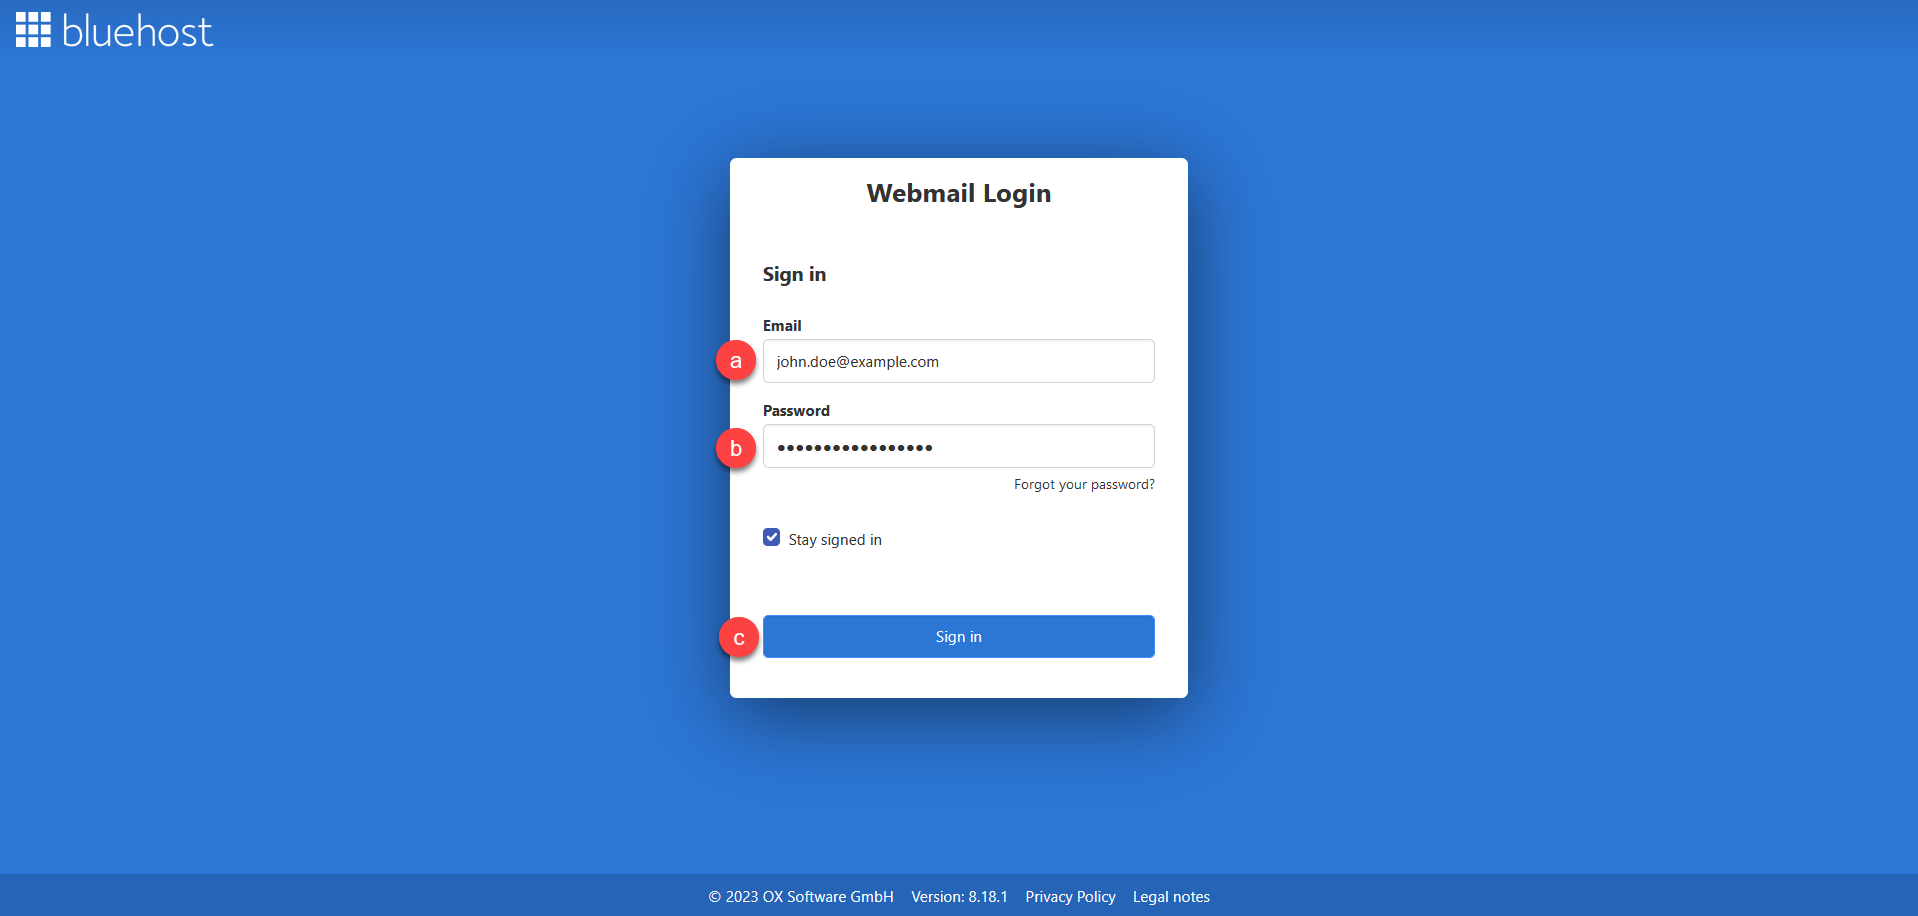
Tip: Enable the Stay signed in option by ticking the box to ensure your session remains active, preventing automatic logouts and the need to log in repeatedly.
Note: If you have enabled 2-Step Verification, an additional page will appear; enter the authentication data on this page.
-
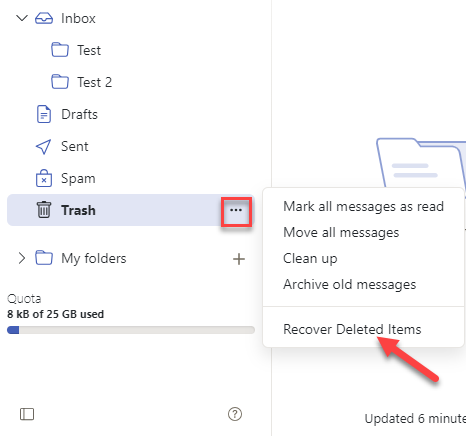
Launch the Recover Deleted Items pop-up by following the steps below:
- On the left side of the Email page, click the Trash folder’s Actions (…) icon.
- Click the Recover Deleted Items option.
- In the Recover Deleted Items pop-up, choose the email messages you want to recover by following the steps below:
- Please tick the box next to the messages that you want to recover.
- Click the Move Selected Items button, and it will take you to the Move pop-up.
- In the Move pop-up, you can:
- Create a new folder where you want to move the messages by following the steps below:
- Click the Create folder button, and it will take you to the Add new folder pop-up.
- In the Add new folder pop-up, put the name of the folder in the New folder text field.
- Click the Add button.
Note: The newly created folder will be automatically selected or highlighted, so please proceed to Step 7.
- Directly choose which folder you want to move the messages into by clicking the name of the folder.
- Create a new folder where you want to move the messages by following the steps below:
- Lastly, if you have already created a new folder or selected which folder you want to move the messages that you want to recover, click the Move button.

If you need further assistance, feel free to contact us via Chat or Phone:
- Chat Support - While on our website, you should see a CHAT bubble in the bottom right-hand corner of the page. Click anywhere on the bubble to begin a chat session.
- Phone Support -
- US: 888-401-4678
- International: +1 801-765-9400
You may also refer to our Knowledge Base articles to help answer common questions and guide you through various setup, configuration, and troubleshooting steps.