How to Restore a WordPress Site
This article will help you create a database user and a MySQL database, reinstall WordPress, import backups, and fix problems with missing images, plugins, permalinks, themes, and widgets. It also guides you using a database backup ZIP file when restoring lost WordPress content. It provides tips for testing the recovered site and setting up automatic backups to prevent data loss in the future.
Important: Although the recovery method is only partial, and you may not be able to recover everything, WordPress stores most settings and data in its database. As a result, you can recover most of your WordPress website using only your database, and we will show you how to minimize the damage.
How to Restore a WordPress Site From a Backup Database
Before You Begin
Do you have compressed backup files or a database you want to use in your restore? You can restore your WordPress website using those files (Zip, Tar, GZip, and Zip Tar Archive), but decompress the files first. Extract the files and use them as needed in the restore process. Two common ways to extract (or decompress) files are using your computer or the File Manager. One of the most popular methods is using your Bluehost's File Manager.Easily extract your files within your Bluehost Control Panel by following this step-by-step guide:
Create a MySQL Database
- Log in to your Bluehost Account Manager and navigate to the Database section.
- Account Manager - Click the Websites tab from the side navigation menu to the left.
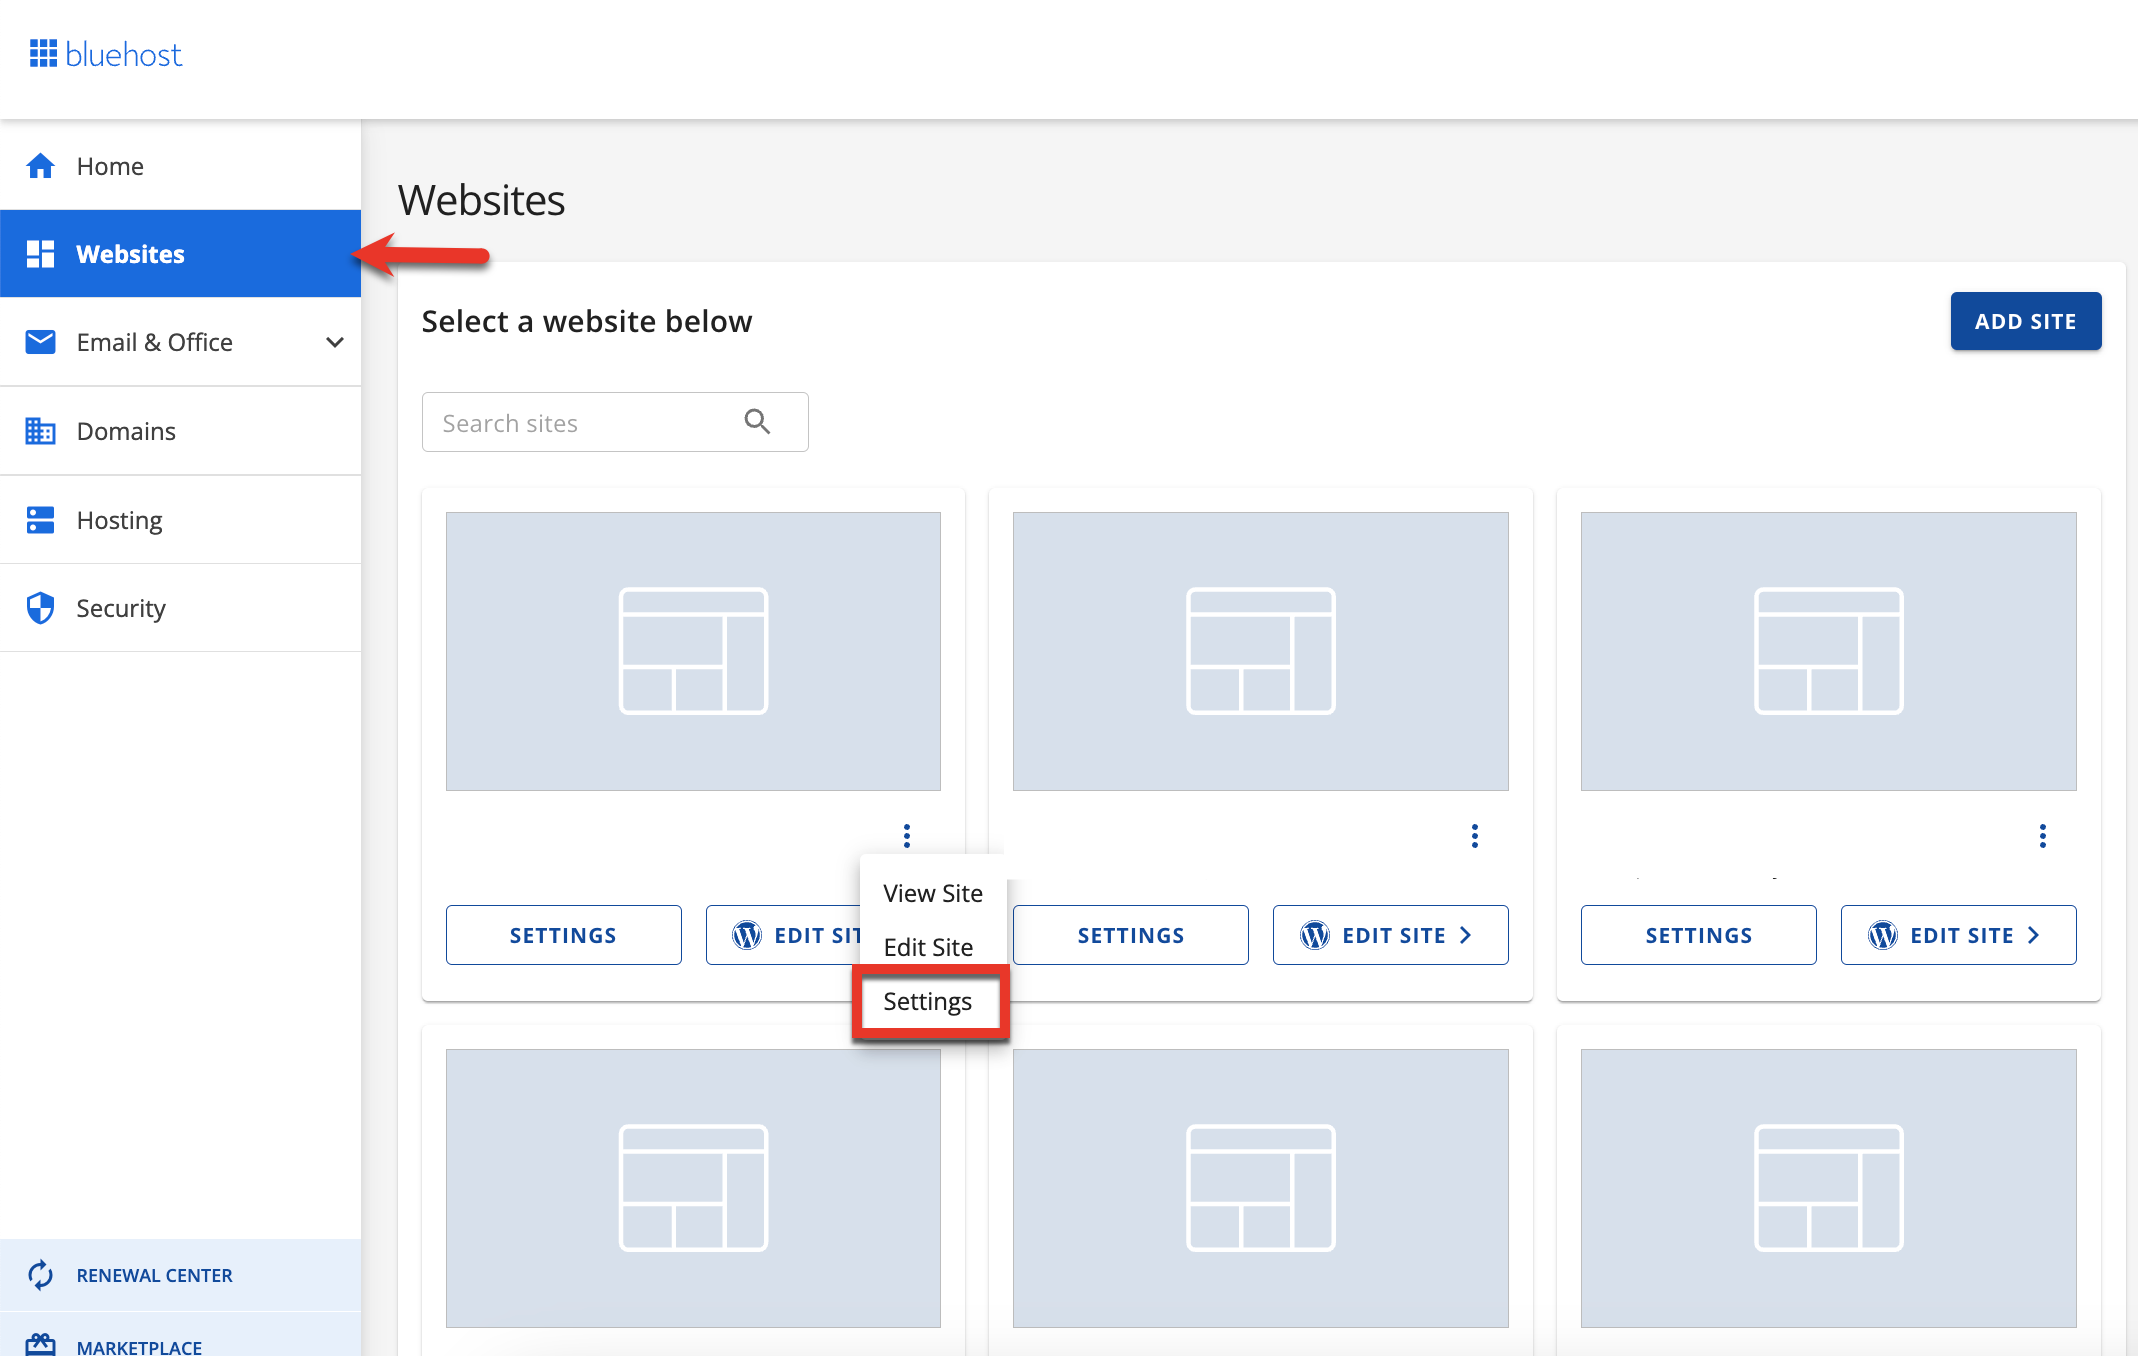
- Account Manager - Click the Websites tab from the side navigation menu to the left.
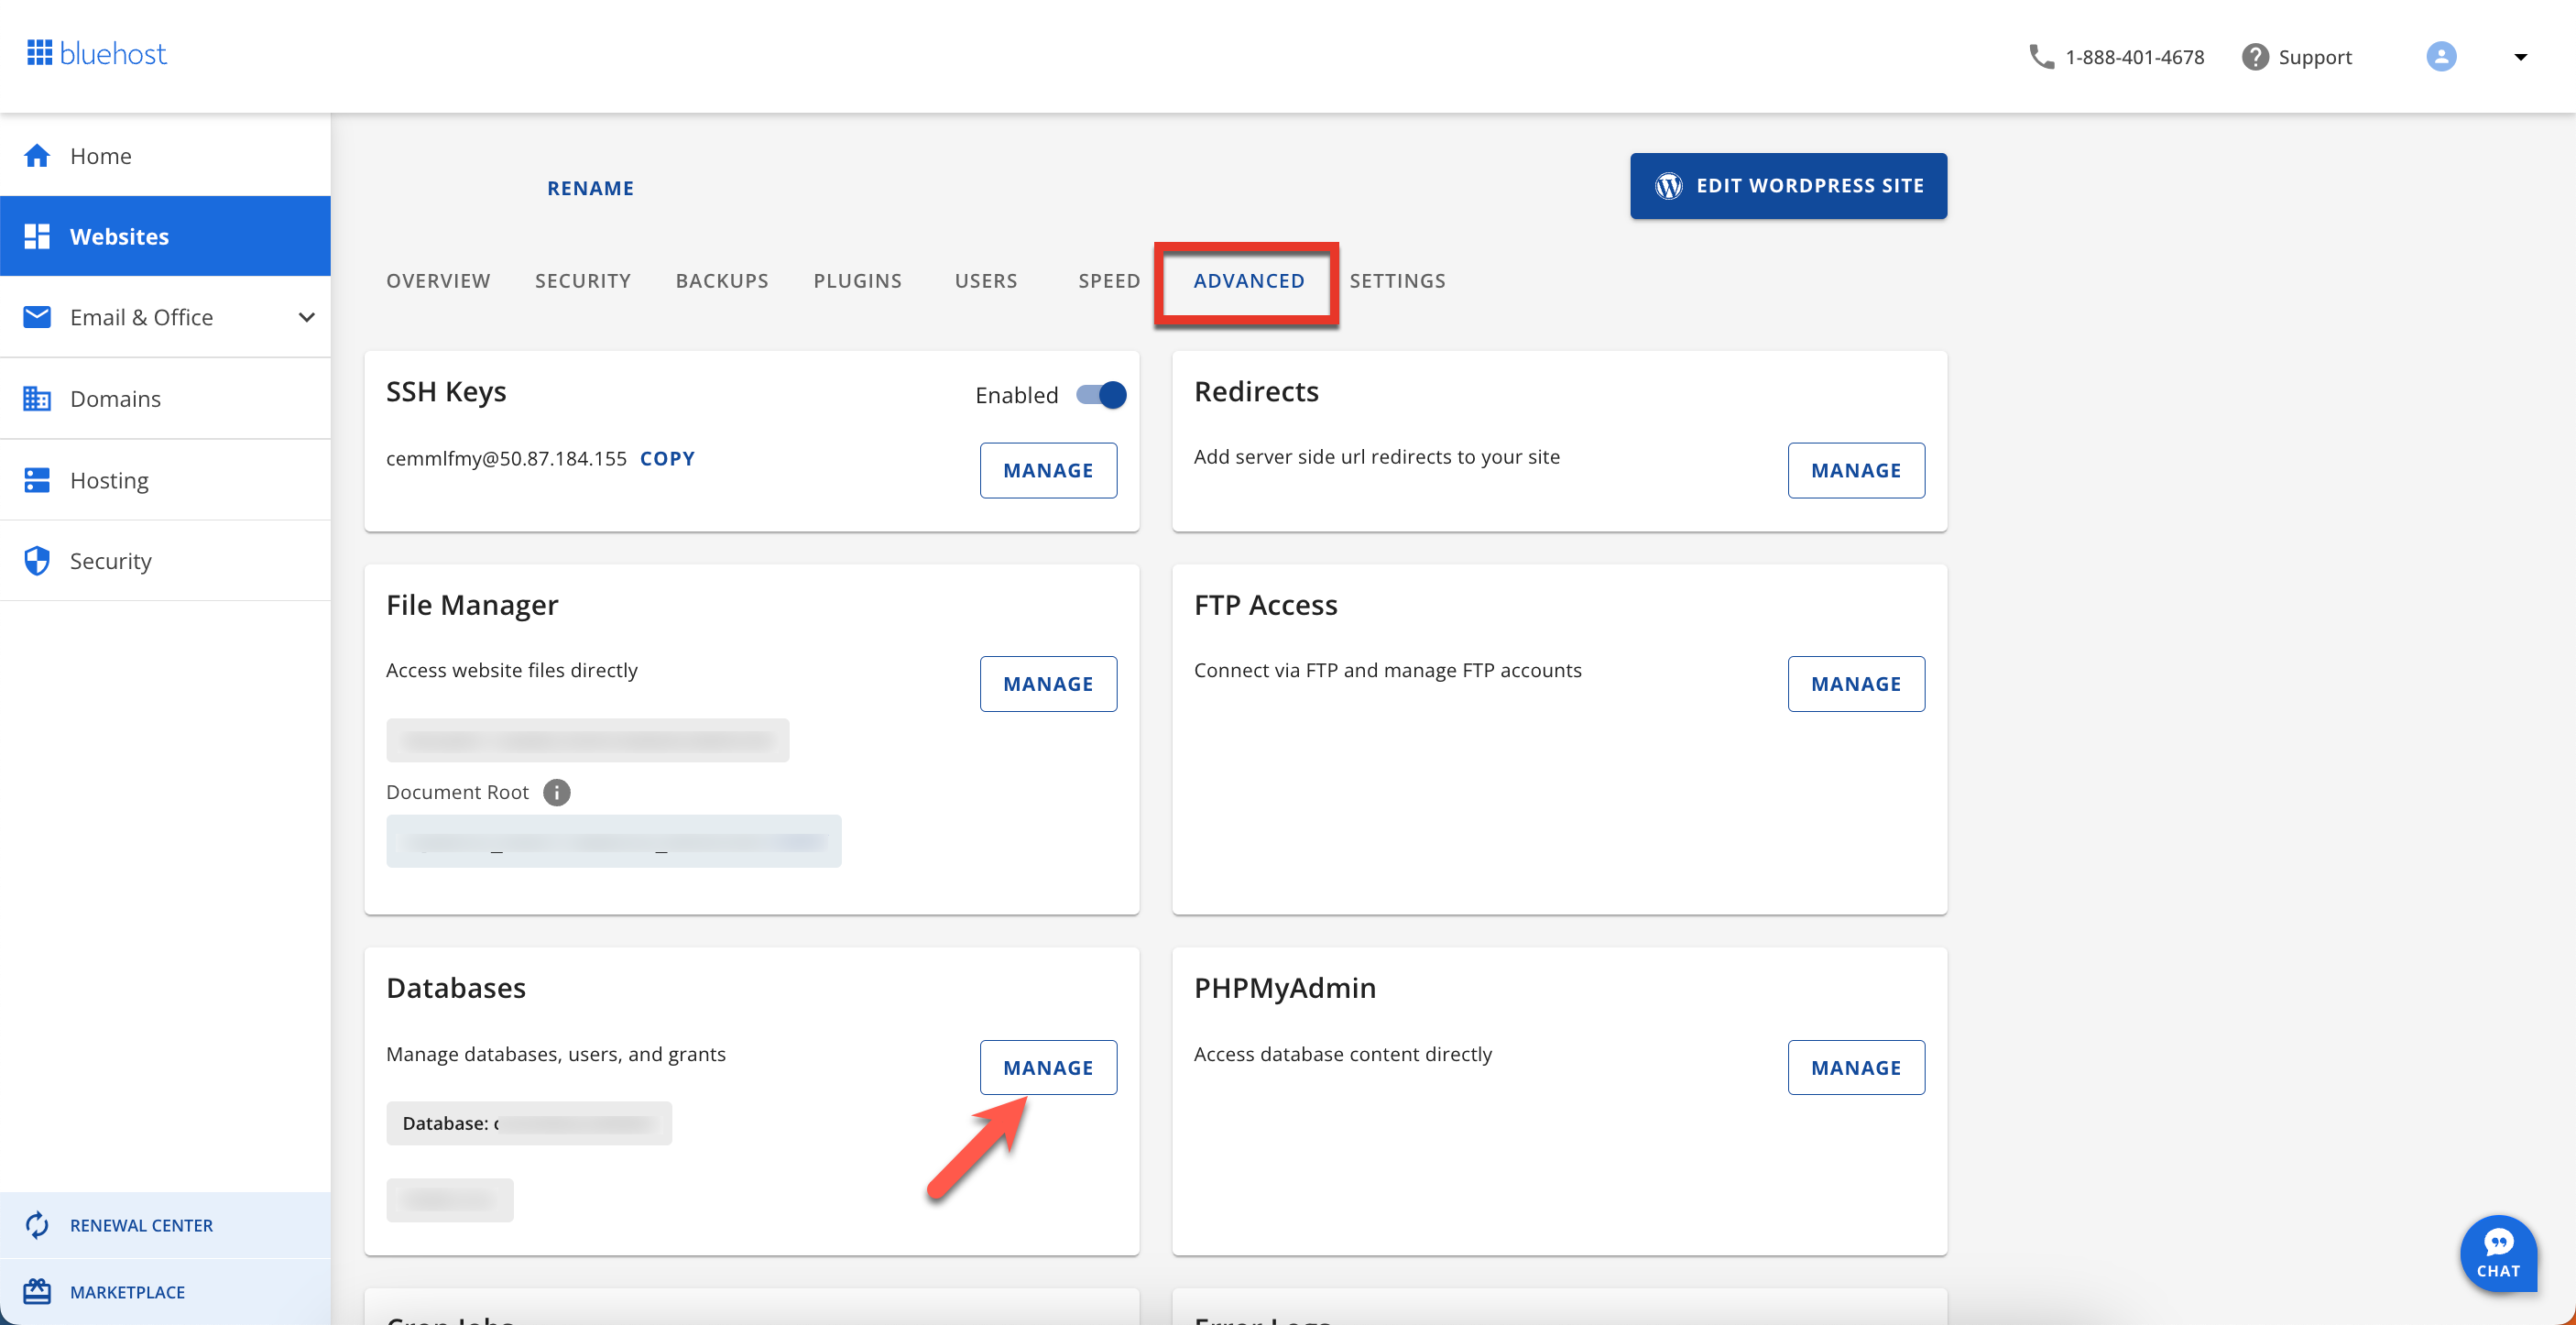
- Navigate to the Advanced tab and select Manage under the Databases section.
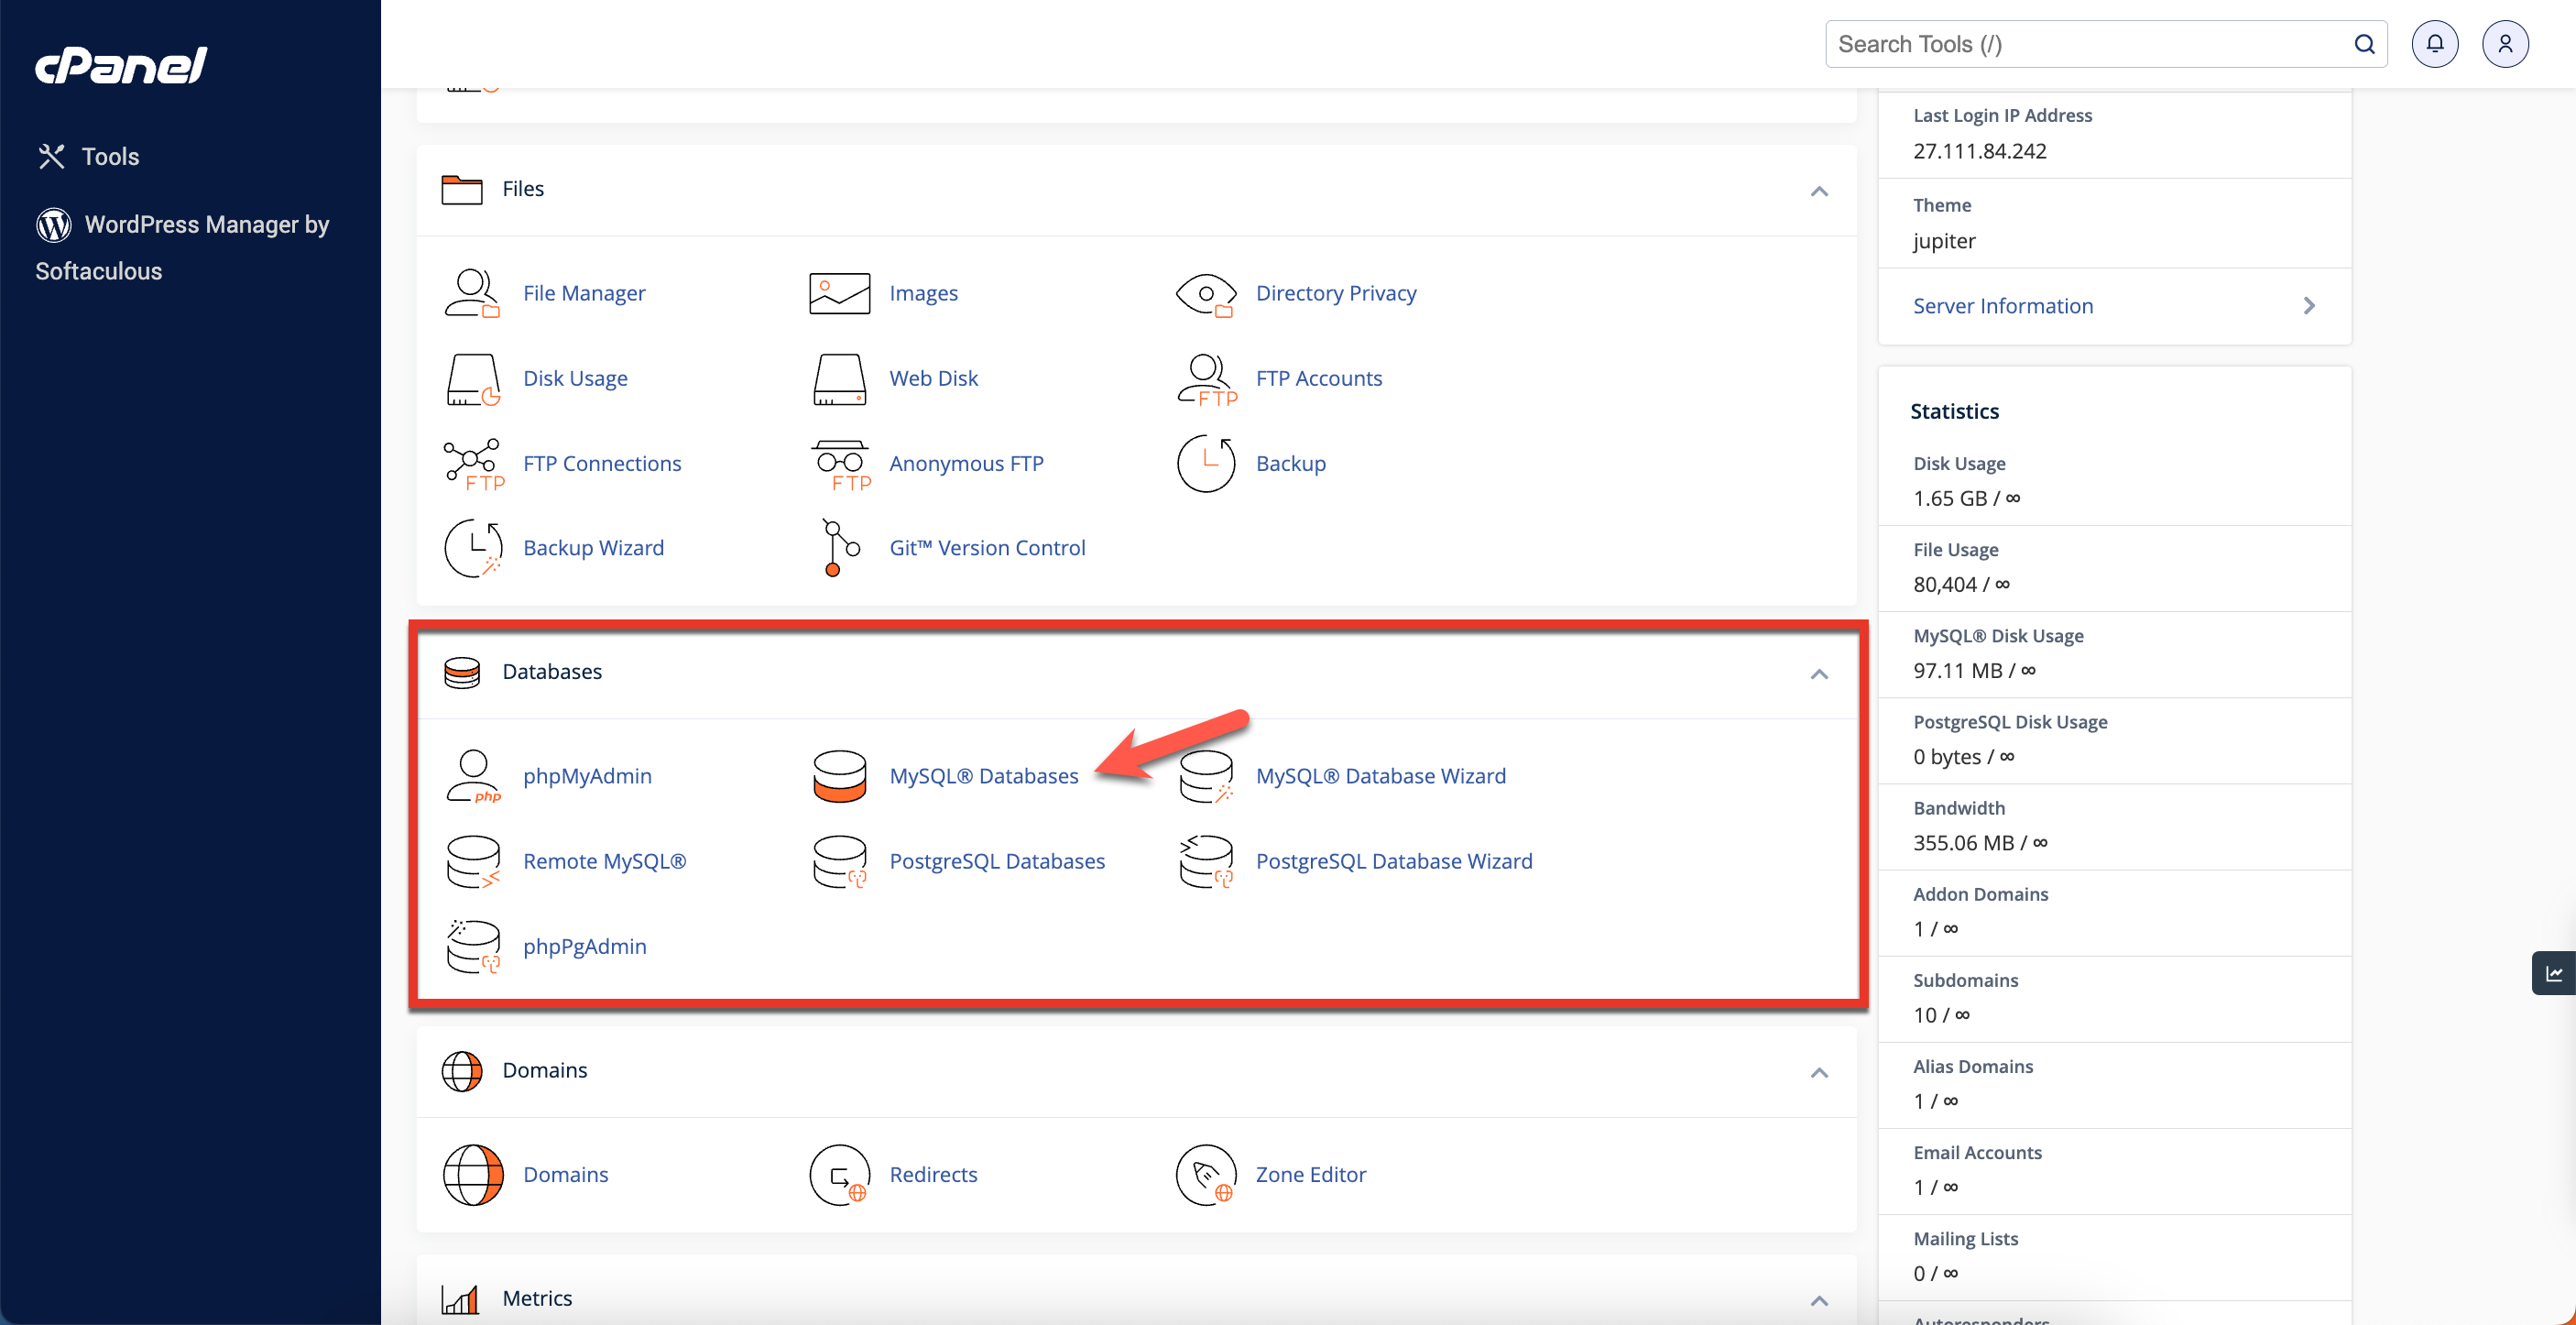
- Under the Database section, choose MySQL databases.
- In the New Database field, type a name for the database.
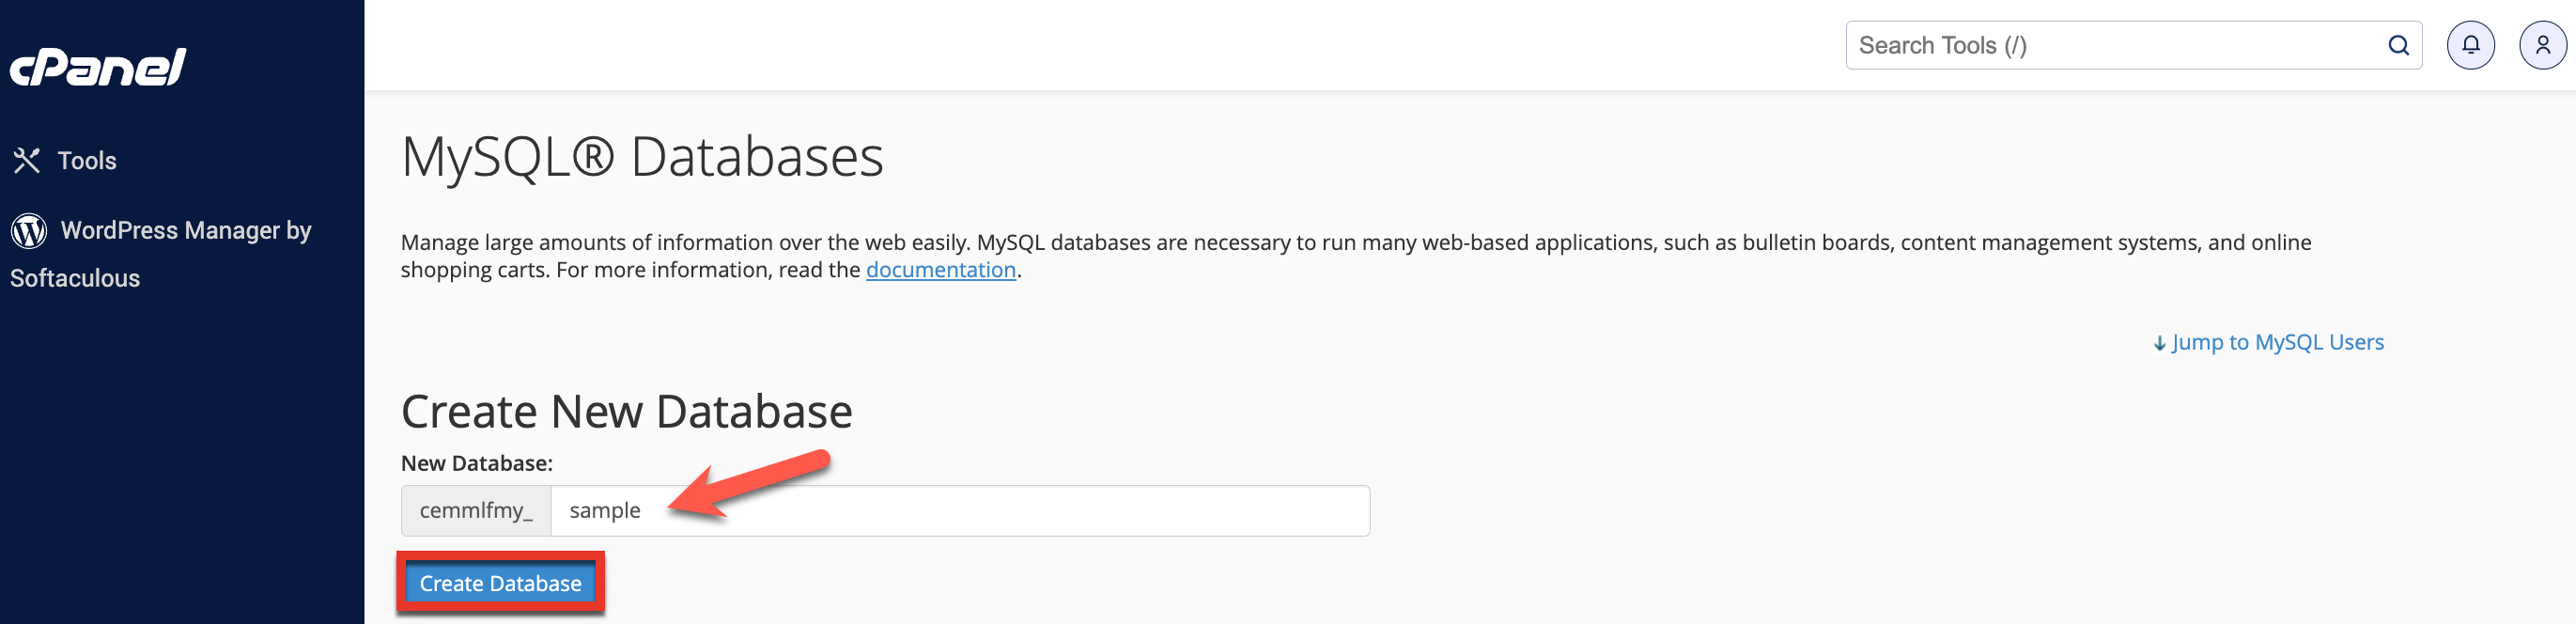
- Select Create Database.
- Click Go Back.
- You should see the new database in the Current Database table.
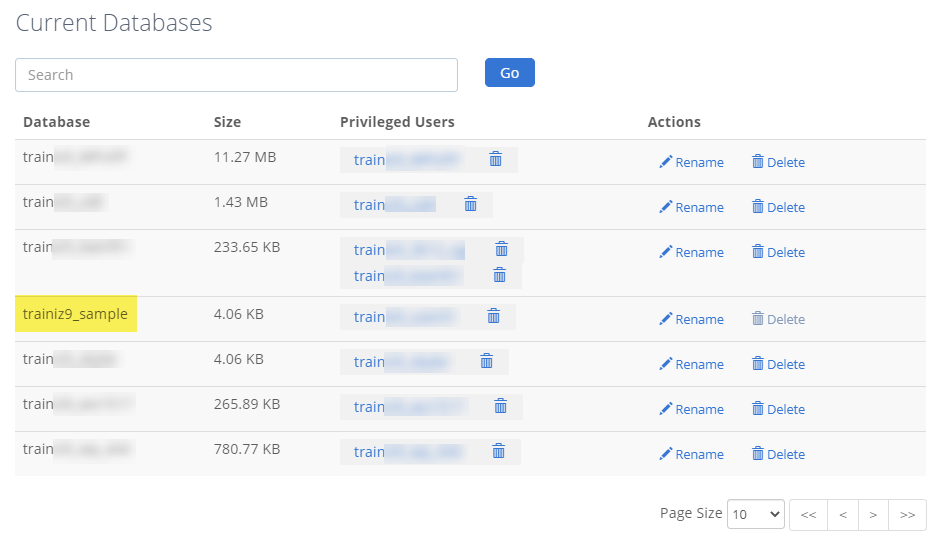
- You should see the new database in the Current Database table.
Create a Database User
The customer must create a user after creating the database, and their privileges must be added to the newly created database.
Important: MySQL user accounts must be created separately from mail and web administrator accounts.
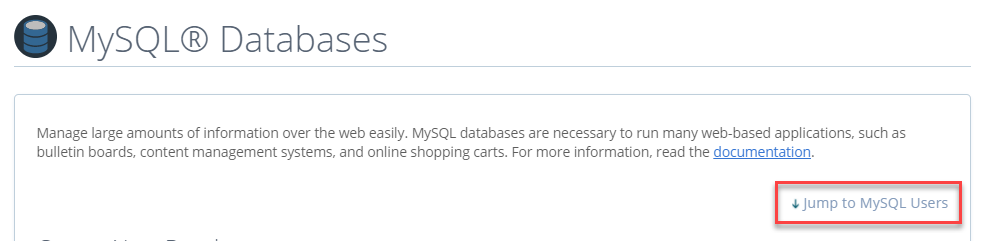
- Under the Database section, select MySQL databases.
- Locate the MySQL Users section of the MySQL Databases tool. To quickly find this section, click Jump to MySQL Users.
- Under Add New User, enter a username.
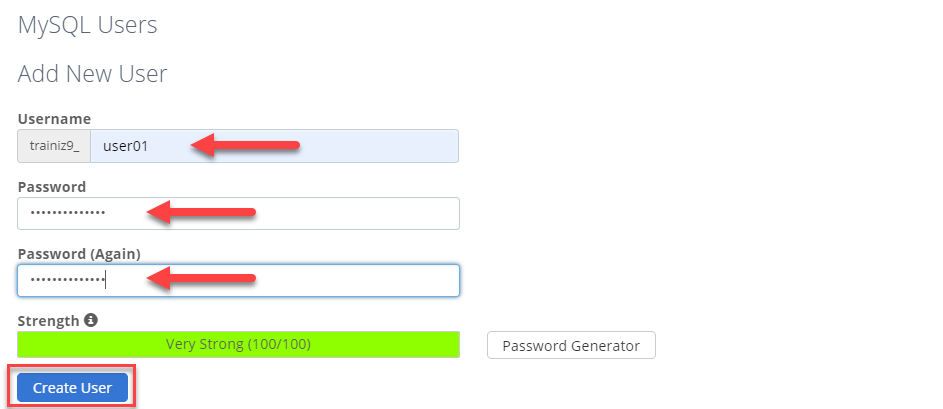
Note: The username must be seven letters or shorter.
- Enter a password in the Password field.
Tip: Click the Generate Password button to help generate a strong password.
- Type the password in the Password (Again) field.
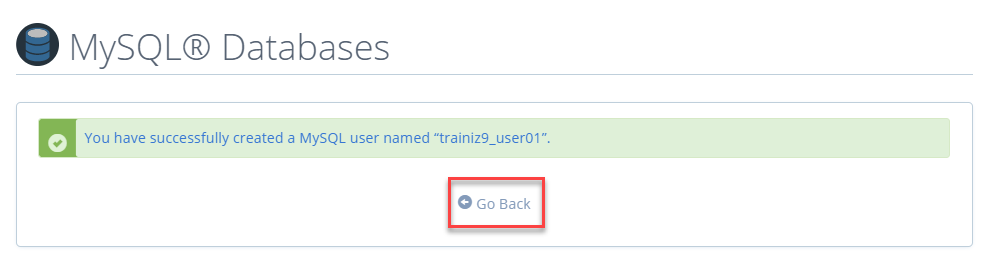
- Select Create User.
Assign a Database User
User privileges determine how a user can interact with the database, such as whether they can add, modify, and delete data.
- Under the Database section, select MySQL databases.
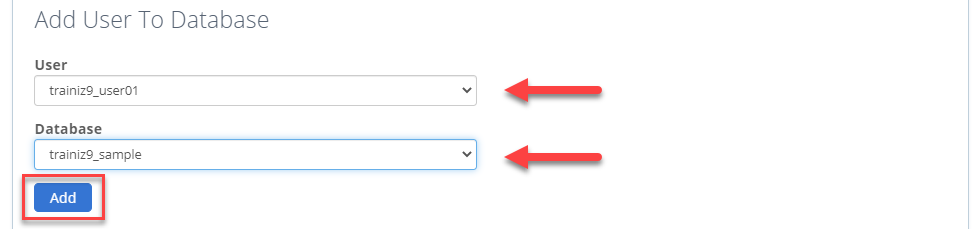
- Select a user from the menu drop-down below the Add a user to the database section.
- In the Database drop-down menu, choose which database you allow the user access to.
- Click the Add button.
- From the MySQL Account Maintenance screen, select the privileges you wish to grant the user or assign ALL PRIVILEGES.
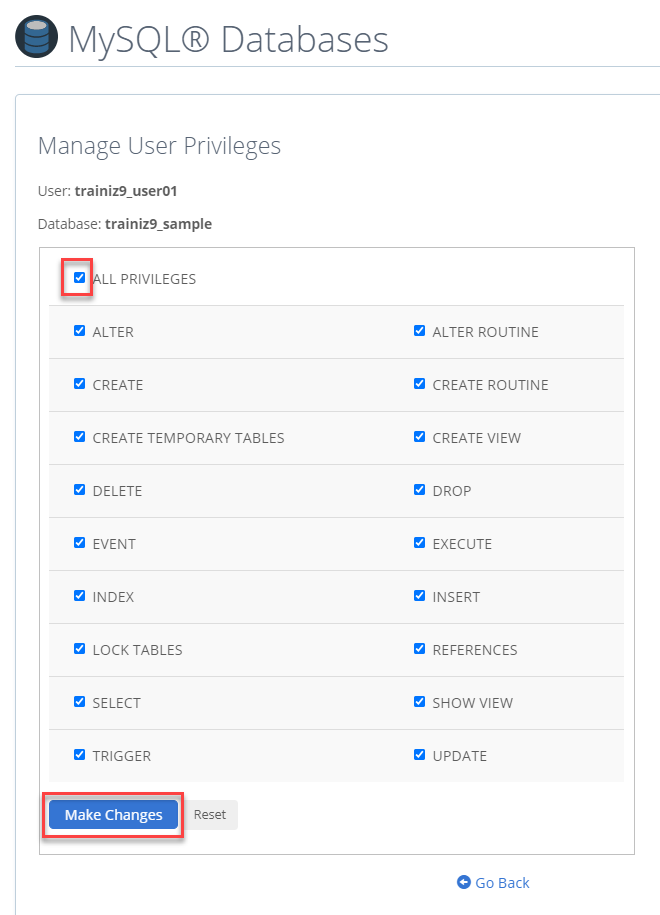
- Click Make Changes.
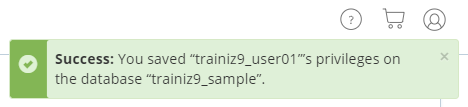
Your new database is now ready for WordPress.
How to Import WordPress Website Database Backup
Now that you've created a database, you'll import the .sql file you downloaded.
- In your cPanel, navigate to the Database section and click phpMyAdmin.
- From the left-hand side of the page, select your newly created database.
- Select the Import tab at the top of the screen.
- Locate the file on your computer.
- After you've chosen the file, click Go to begin the import.
- When the import job is completed, you will see a success message.
Your WordPress database is successfully imported. The next step is to install WordPress with your newly created database.
Note: If the SQL file is large, importing it via the command line is the best option. Here is a helpful article regarding the import/export of MySQL through the command line:
How to Restore a WordPress Website
Download WordPress
- Download the WordPress package from https://wordpress.org/download/ to your local computer.
- On your local computer, unzip the downloaded file to a folder.
Upload WordPress
When uploading WordPress to your hosting account, you have three options. When you unzipped the file in Step 1, you were left with a folder named 'wordpress', and the contents of that folder must be uploaded to the file manager of your hosting account. You can do this in one of three ways:
- Upload via FTP- See FTP - General FTP Settings for more info.
- Upload via File Manager - See File Manager - How to Upload Files for instructions.
- Upload via SSH - See SSH Access for instructions.
Run the Installation
- When you navigate to your correct WordPress URL in a browser, you will go straight to the part where you must select your preferred language. Select your chosen language and then click the Continue button.
- You should now see a welcome page, "Welcome to WordPress. Before getting started, you will need to know the following items." Click Let's go!
- Enter the database name and user you previously created, and then click Submit.
Important: If you see a message that says, "The file wp-config.php already exists. If you need to reset any configuration items in this file, please delete it first. You may try installing now." continue by clicking the install now link.
- Once you are on the Welcome page, fill out the following fields under the Information needed section:
- Site Title: This can be changed at any time.
- Username: This is the site's admin username. We strongly advise against using 'admin' because it can pose a security risk.
- Password: A strong password will be generated for you automatically, but you can create your own. The password strength indicator will tell you how secure and strong your password is.
- Your Email: Ensure the email address is one that you have access to because that is where you will receive your login credentials.
- Search Engine Visibility: For your website to appear in the search engines' results, you must leave this unchecked. Check this box if you do not want your site to be indexed.
- Select the Install WordPress button, and you go straight to a final screen that shows, "WordPress has been installed; thank you, and enjoy!" It will show the username you selected on the prior page and a placeholder for your password.
- That's it. You can now access your WordPress site.
How to Fix a WordPress Website After Restoration (Troubleshooting)
Several things will be missing because you do not have your old WordPress files. Some can be quickly restored, while others will be a bit difficult. We'll go through them all one by one.
Themes
Reinstall your previous WordPress theme. If you change your theme files directly, those changes will be lost. You'll have to go through the theme options to restore it to its previous state.
Important: The customization process has limitations, and recovery from theme customization mistakes may not always be possible.
Widgets
Widgets are essential in WordPress themes. Thankfully, they're saved in your WordPress database, and switching back to your old theme will restore some of your widgets. To add and rearrange widgets in your sidebars, go to Appearance> Widgets.
Some WordPress plugins include widgets of their own. You must first install and activate the plugins before you can use them.
Permalinks
Your site's permalink structure is also saved in the database and will be restored automatically. If you see 404 errors on the front end of your site, you will need to refresh your permalink settings. Navigate to Settings> Permalinks and save changes without making any changes. This will update the URL structure of your WordPress site.
Plugins
WordPress keeps track of your site's active plugins. When you first visit the plugins page, WordPress will display a list of errors for each plugin in the database, including those that are no longer installed. Copy all the plugin names and install and activate them one at a time.
Important: After reinstalling any plugins, there may be conflicts with other plugins or your website's theme. It's always a good idea to double-check everything is working correctly after reinstalling plugins to avoid any issues down the line.
Recovering Lost Images
The most challenging part of the recovery would be locating and replacing lost images on your website. This can take a long time, depending on how much content and images you have.
Unfortunately, there's no simple solution. You will need to use various tools to extract images from multiple sources. The chances of recovering all images are relatively low.
- Look in your browser cache - If you recently lost your website, you can check your browser cache.
- Firefox users can download the CacheViewer2 add-on to quickly find images from their website stored in the browser cache. Right-click an image and select Save from the menu.
- Chrome Cache Viewer is available for Windows users who use Google Chrome. Users of Google Chrome on Mac will be out of luck. We couldn't find a workable solution for browsing, previewing, and saving images from the Google Chrome cache on Mac.
- Check web cache for your images - Several web services keep cached versions of websites. Begin by searching for your photos using Google's image search. Enter your website's URL to see the images Google discovered on your site. You can save an image by clicking on it to see a larger preview.
Note: If you're restoring an older website and can't find images on Google or Bing, try archive.org. It's a non-profit organization that preserves website snapshots for historical purposes.
Finding and Replacing Images
If your old site didn't have much content, you could manually replace images in your posts. However, manually finding and replacing images will be difficult if you have a large amount of content.
Here's how to quickly locate and replace broken images.
You must first install and activate the Broken Link Checker plugin. Navigate to the Tools » Broken Links Checker page after activation. The plugin will show a list of all broken links on your website.
Broken images are also considered broken links to be included in the list. You can sort the list of broken links by clicking on the link text column to display pictures first.
You can now replace the images you recovered by editing posts. You can either try to recreate the photos you could not recover or unlink them.
Additional Tip
- You must thoroughly test and verify the site's functionality after restoring a site to ensure it is error-free and fully operational. That said, it is essential to check all buttons, forms, links, and other interactive elements on the site and test the site's compatibility across different browsers and devices. Additionally, it is important to check the site's speed and performance to guarantee that it is running smoothly. By thoroughly testing and verifying the restored site, you can ensure that it is ready to be launched and used by visitors.
- It will be difficult to recover all of your lost data. Your website may even contain errors that degrade the user experience. As a result, we strongly advise you to set up automatic backups. Please see our blog on how to back up your WordPress site for a complete step-by-step guide.
- Jetpack can also allow you to quickly restore or download a backup of your site from a specific moment in time. Please see Jetpack - Backup and Restore to learn more about how Jetpack works.
Summary
Restoring a WordPress site with a database backup can be a lifesaver if you encounter a website crash or data loss. Using a reliable WordPress hosting service can greatly speed up the restoration process, as many offer backup and restore functionalities as part of their hosting plans. By following this article, you can restore your WordPress site to an old version using a database backup. It's important to regularly back up your website and database on your WordPress hosting account to ensure you have a recent backup available in an emergency. With the right preparation and know-how, combined with the support of a dependable WordPress hosting provider, you can swiftly and easily restore your WordPress site and return to business as usual.
If you need further assistance, feel free to contact us via Chat or Phone:
- Chat Support - While on our website, you should see a CHAT bubble in the bottom right-hand corner of the page. Click anywhere on the bubble to begin a chat session.
- Phone Support -
- US: 888-401-4678
- International: +1 801-765-9400
You may also refer to our Knowledge Base articles to help answer common questions and guide you through various setup, configuration, and troubleshooting steps.